|
Controlling your fermentation temperature is probably one of the
most important aspects of brewing, but it is often one of the most
overlooked for new homebrewers. I don't think nearly enough
emphasis is put on fermentation temperature and how to keep your
beer at the right temperature for the style you're brewing.
Fermentation creates heat, which is often not told to new brewers,
so if they put their fermenter in a 68 degree room, they think it's
fermenting at 68 degrees. That is most definitely not the
case! Average beers will create between 6-10 degrees of
additional heat over the heaviest portions of fermentation, so your
beer should ideally be placed in an area that is around 58-60
degrees if you want to ferment at 68 degrees. This is where a
fermentation fridge or freezer comes in. Overall, they're both
easy to build and all you need is a new or used fridge/freezer, a
temperature controller to override the internal thermostat (se links
below), and the space to store it. If you really want to have
control of your beer and produce the best possible product, I would
highly recommend building a temperature controlled fridge or
freezer.
Digital Temperature Controller -
LINK
|
|
|
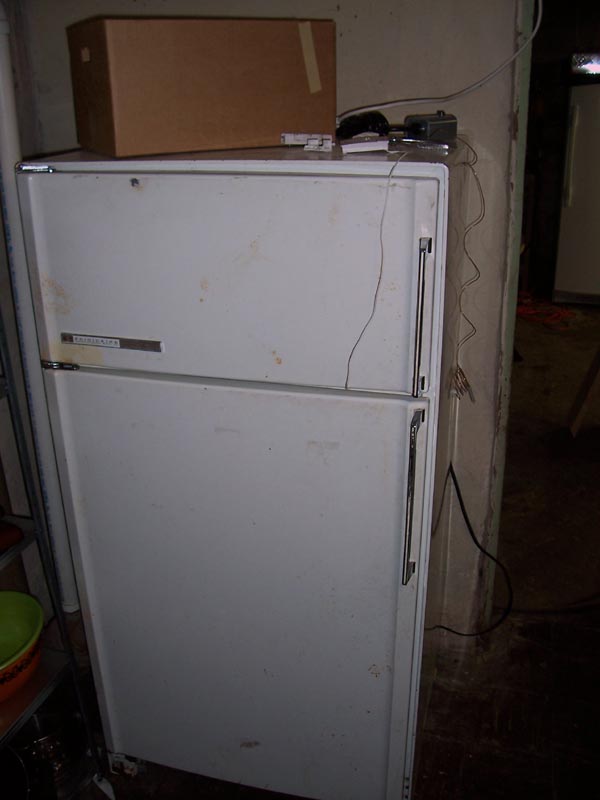
I found this fridge on Craigslist for $50, and it served me
well for a few years until our basement flooded and shorted
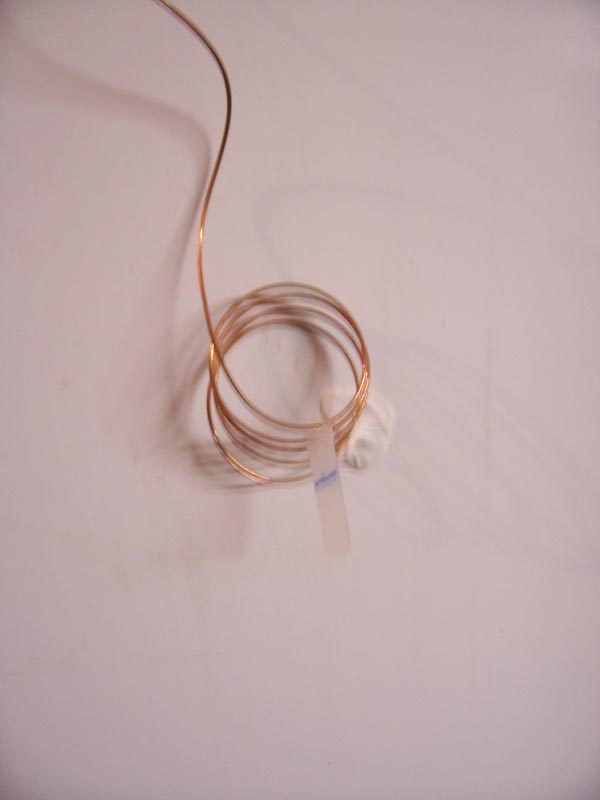
it out. I had to drill a small hole in the side of the
fridge to insert the temperature probe. I used some
silicone caulk to fill in the hole around the probe wire.
Luckily I didn't hit a coolant line in the process. If
you drill into the side of a fridge, be very careful not to
hit a line containing refrigerant! If that happens,
you've just created a large doorstop for yourself instead of
a fermentation chamber.
|
|
|
|
.jpg)
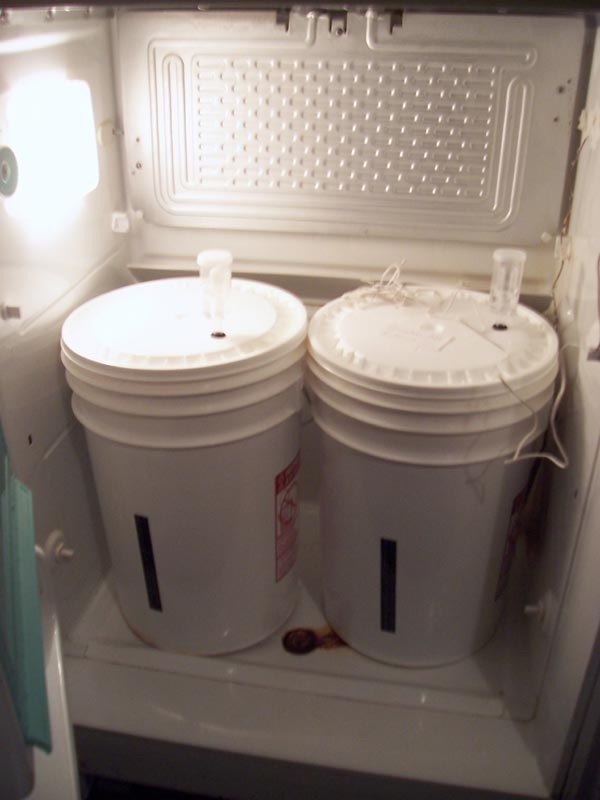
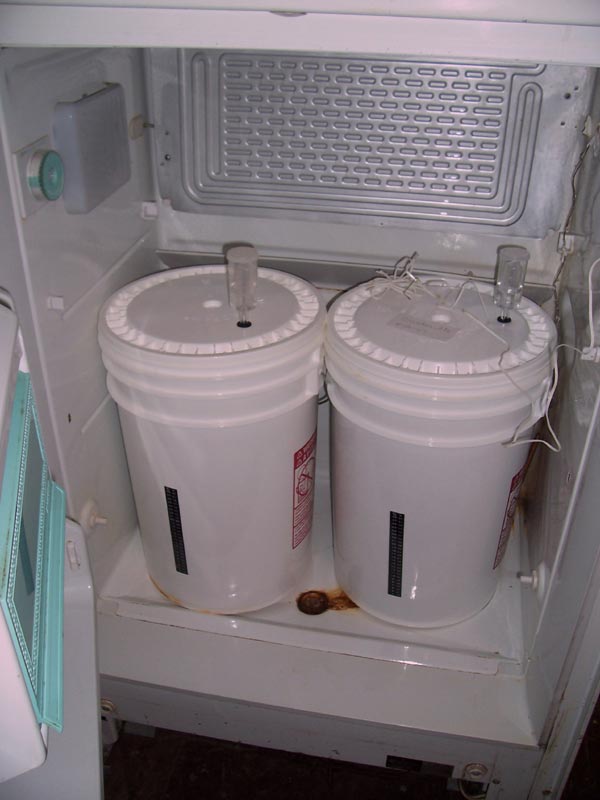
After my fermentation fridge died after our basement
flooded, I needed something else to ferment in.
Luckily, I noticed my local Lowes had a chest freezer on
sale for $160, so I cut out two pieces of cardboard the same
size as my fermenters and went to take a look. I was
able to fit the two blanks into the bottom of the freezer
with room to spare, so I bought the freezer and took it
home. After running the temperature controller probe
through the back of the freezer between the freezer and lid,
I was good to go. This didn't require any
modification, so this freezer can be repurposed if I decided
to change things up down the line. Maybe when my
Fridge Kegerator dies out, I'll
build another Chest Freezer
Kegerator. |
|

.jpg)
.jpg)