|
10 Gallon Brew System
5 Gallon All-Grain
Brewing
Beer
Log
Brewing Tips & FAQ
Brewzilla System &
Mods
Build a Keg Washer
Concentrated Brewing
Exhaust Fan/Vent
Hood
Extract w/ Grains Brewing
Fermentation Fridge/Freezer
Fermzilla Conical
Hard Cider
Recipe
Hard Seltzer
(MikeClaw)
Monster Mill
Parti-Gyle Brewing
Saving
& Reusing Yeast
Sour & Funky Beers
Wine & Mead
Chest Freezer Kegerator
Fridge Kegerator
Sanyo Kegerator
Custom Tap
Handles
Keezer Compressor
Fix
Quick & Easy Drip Tray
Bread & Sourdough
Fermented Food
Gun Pictures
Hunting
Smoking Meat
|
|
Wine & Mead |
|
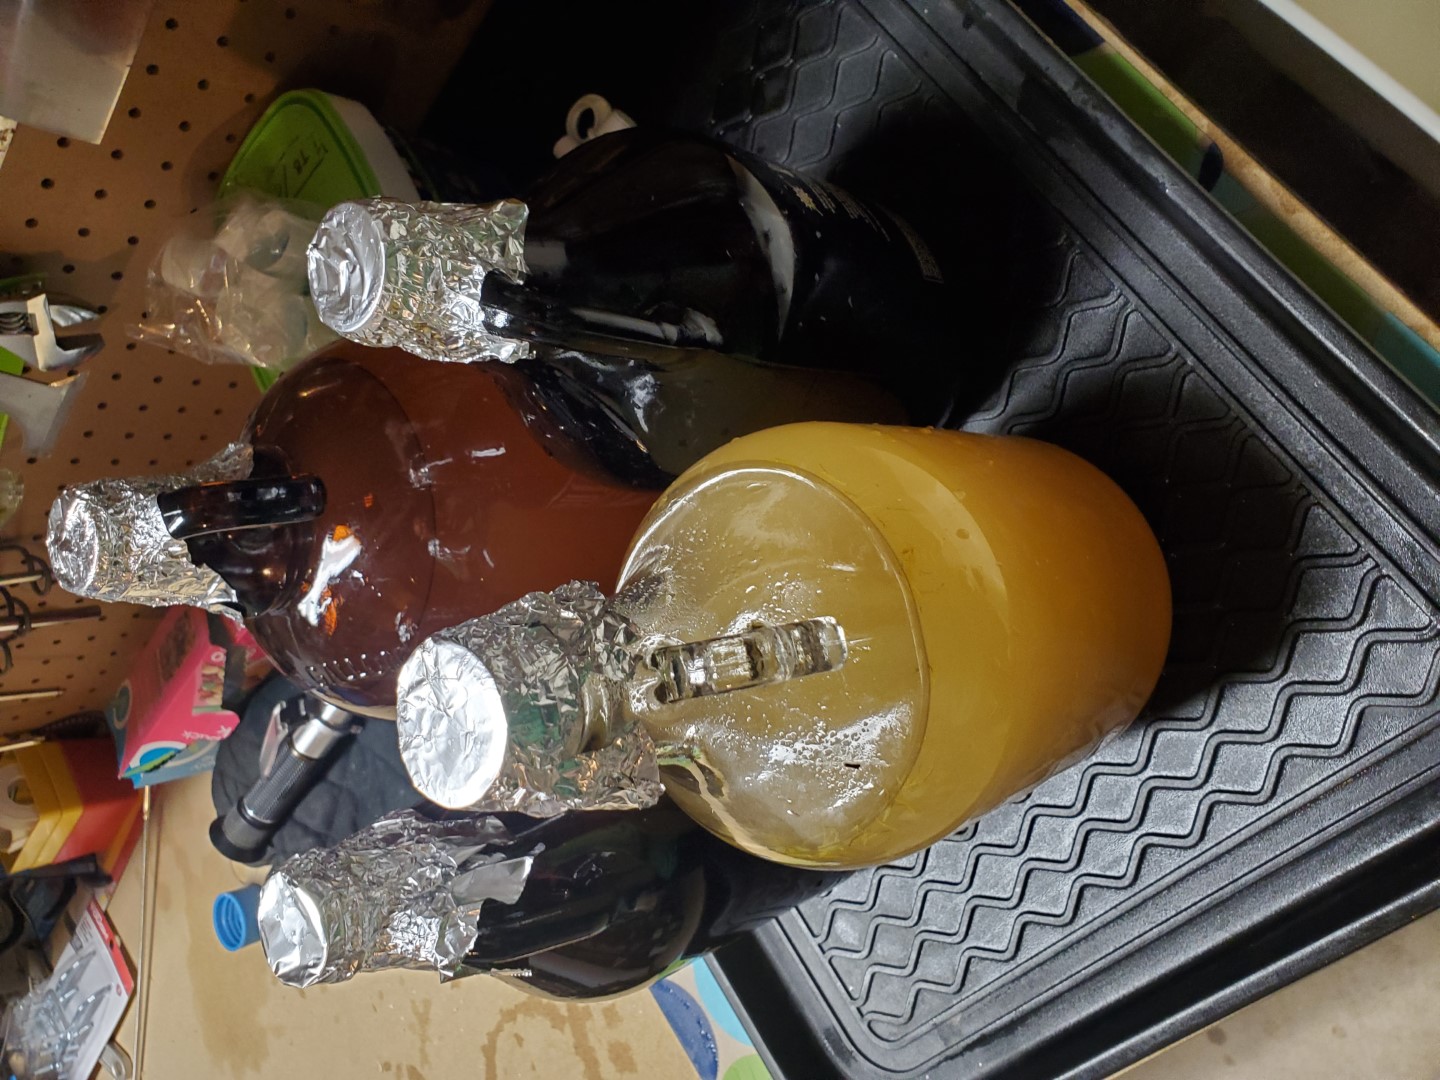
I've been a beer (and cider) brewer for many years, and I've never
tried making any kind of wine before, other than a mead years ago. When COVID-19 hit, I found
myself looking at more random things to ferment, including both hard
seltzer (MikeClaw), Mead, and various wines that could be made with
supermarket or foraged ingredients. The below recipes are a
couple random wines I've tried making the last few months. I
haven't had a chance to taste the finished products yet, but I've
had a mostly fun time playing around with them.
Update 2/9/2021 - I've been doing a little more online research into
making various fruit wines and fruit meads (melomels), so I'll be
posting the new recipes I come up with below.
|
|
|
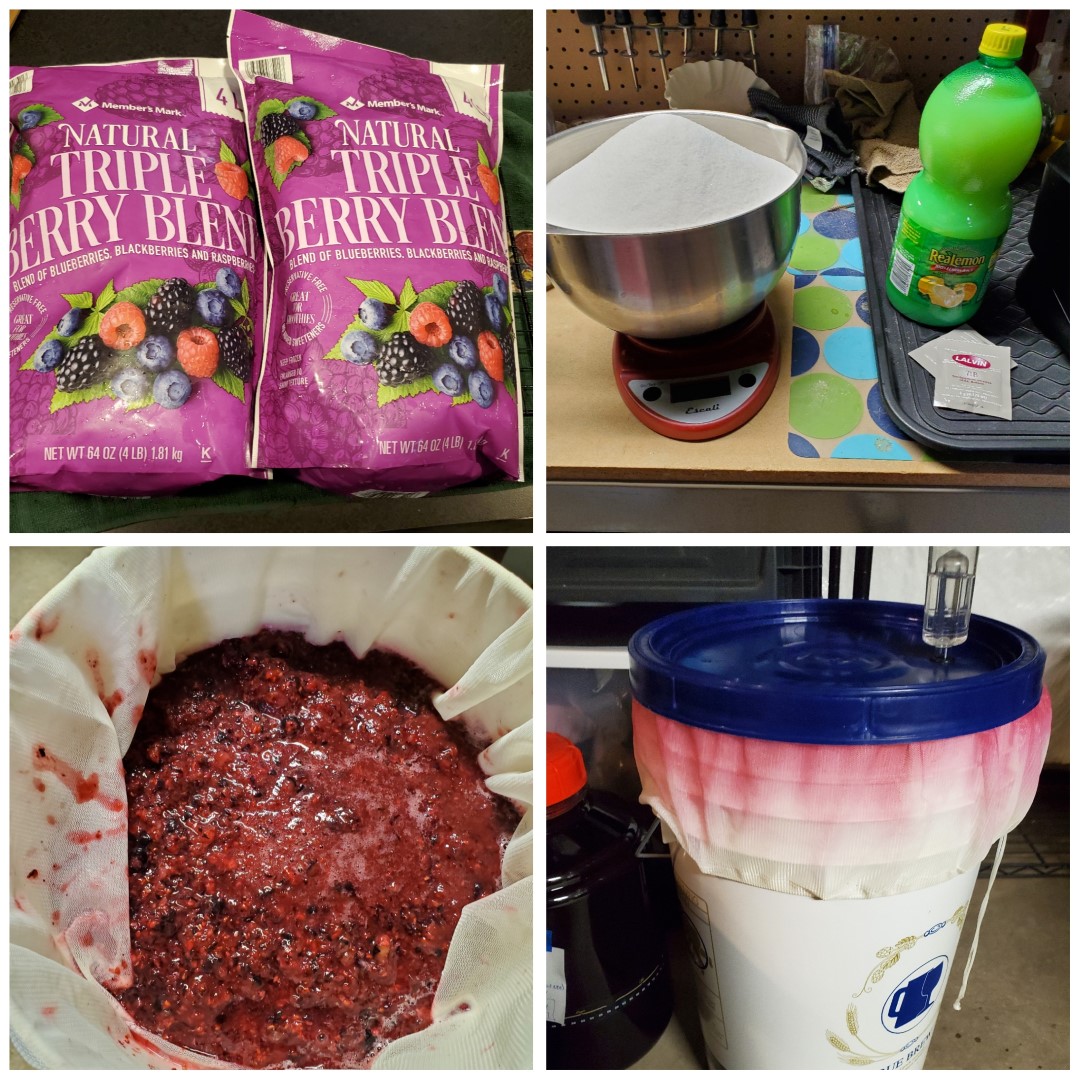
Recipe - Dragon Blood Fruit Wine
Resource:
https://brulosophy.com/2020/04/16/bru-it-yourself-dragon-blood-wine/
In searching for various country/fruit wines, I came across
something that sounded pretty interesting...Dragon Blood!
It appears this recipe has been floating around the internet
for several years and looked pretty straightforward. I
had purchased some extra and fruit and sugar from Sam's Club
on my last order with some future batches of fruit wine and
mead in mind, so I already had all the ingredients at home,
minus the large amount of lemon juice. That was easy
enough to get from the grocery store, so this was a pretty
quick brew overall. I punched down the fruit cap on
the wine a couple times a day for the first week then
removed the bag and squeezed out the juice. After
that, I sealed up the lid, filled the airlock, and now I'm
waiting for fermentation to finish up before transferring to
secondary for long-term aging. |
|
|
|
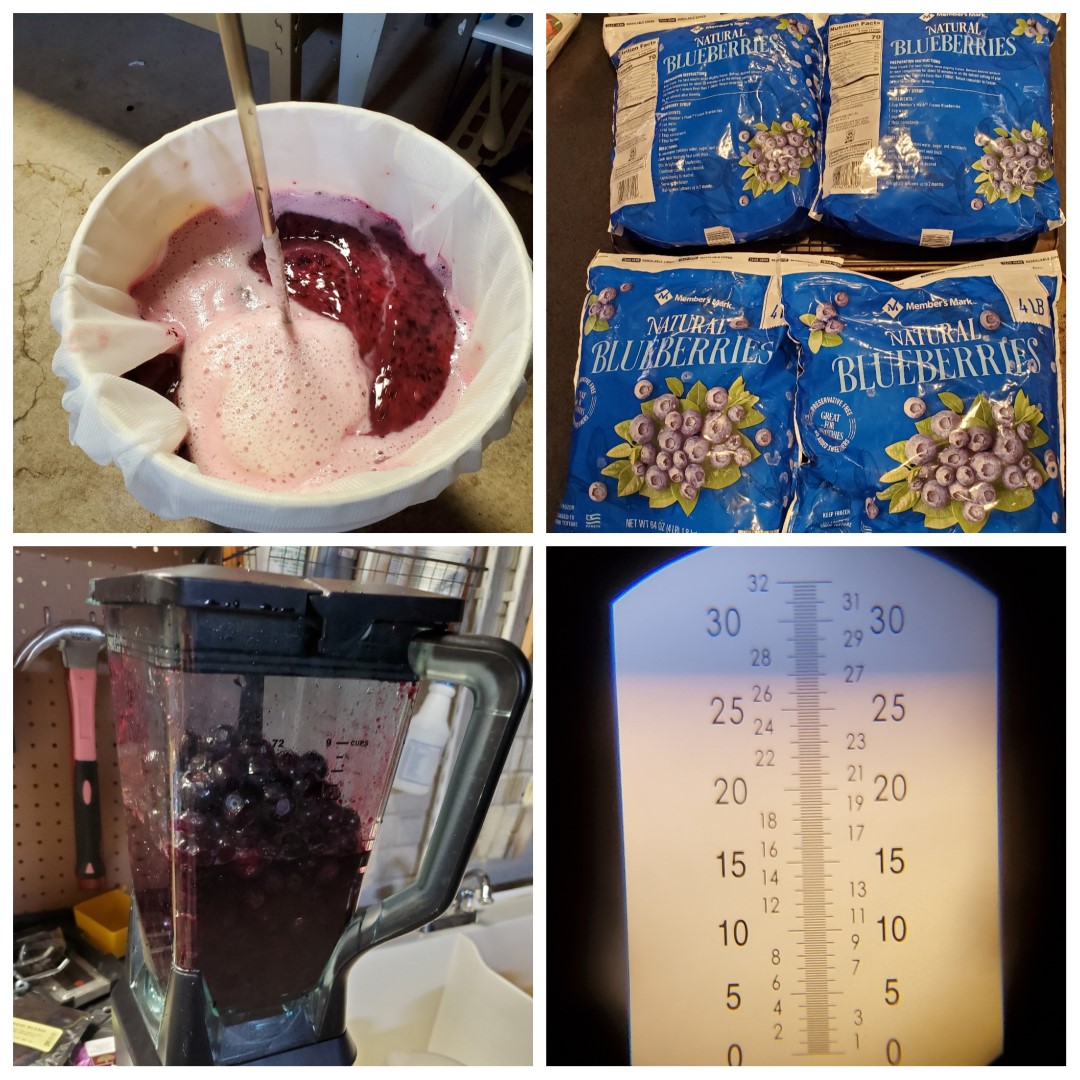
Recipe -
Blueberry Wine
Resource:
https://winemakermag.com/article/making-blueberry-wine-tips-from-the-pros
After making the Blackberry Wine below, I started looking a
little more at fruit wines using either fresh or frozen
fruit. I settled on frozen blueberries for the first
batch since I have a Sam's Club membership, and the fruit
was relatively cheap ($2/lb). I used the recipe &
process in the link above after reading through several
other sources. I used our Ninja blender to pulse the
blueberries a couple times to break them up a bit, but I was
careful to not puree them so the skins wouldn't release too
much tannins during the fermentation process. I also
used a mesh BIAB bag to contain the fruit and pulp, since I
had a huge problem racking the blackberry wine into
secondary and ended up with a ton of volume loss. This
caused me to transfer that wine twice, once into a 5 gallon
fermenter and again into a 3 gallon fermenter since there
was too much headspace. Live and learn I guess.
|
|
|
|
Recipe -
Blackberry Wine
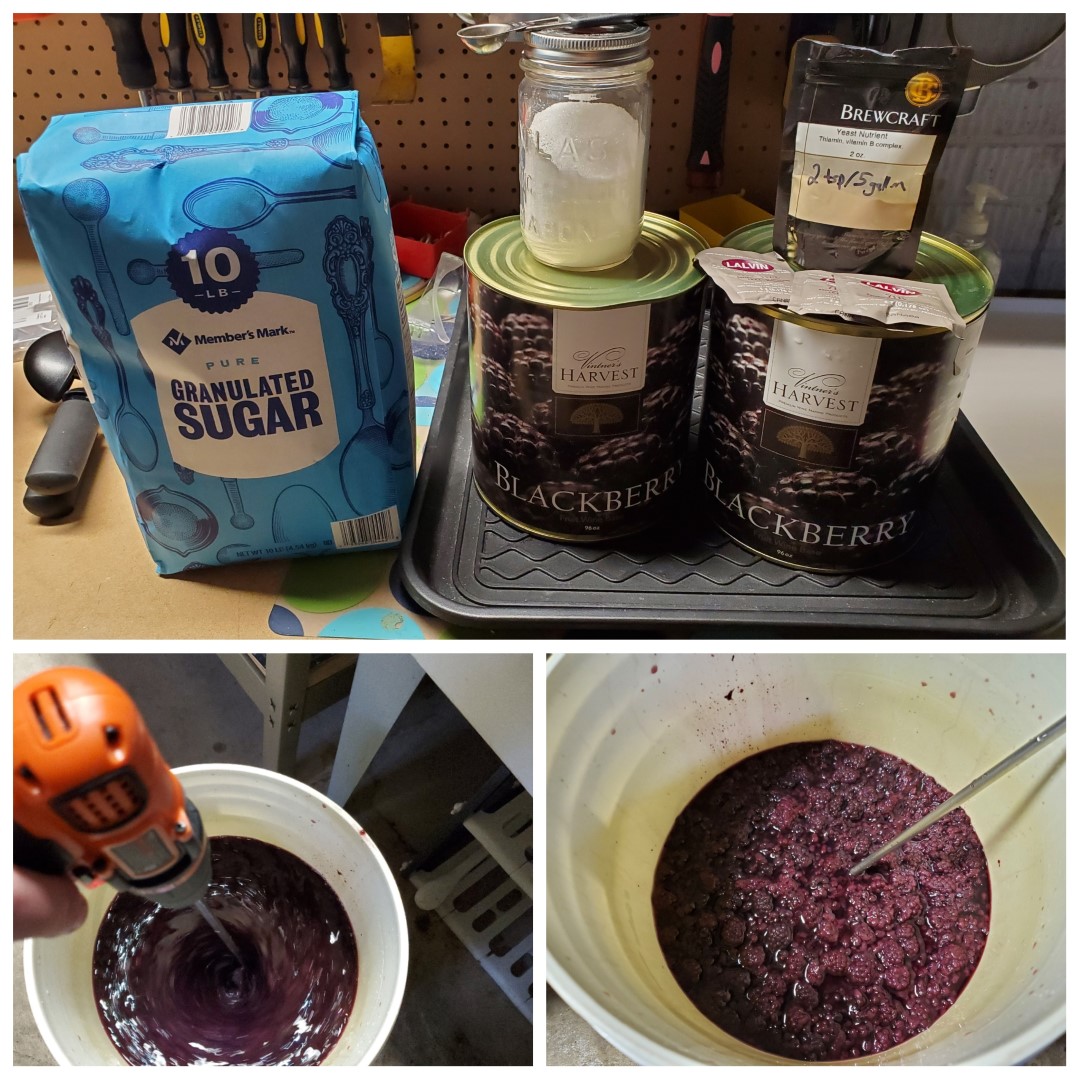
I was ordering some brewing ingredients from Homebrewing.org,
and of course I always look at the sale & bargin bin items.
I happened to stumble across some 96oz cans of Vintner's
Harvest Blackberry Wine Base for 70% off because they were
slightly outside their sell-by date. Since it's a canned
fruit product, that didn't bother me, so I ordered four
since they are part of the free shipping option. So that got
me looking back into wine after my mostly unsuccessful wine
experiments from last year. I'm still letting them age, but
that's another story. When the wine base arrived, I
mainly used the recipe on the can, but I added two cans of
base instead of one. I thought this would increase the
fruit flavor in the finished win, so time will tell. I
also added a little less acid blend because I've been using
citric acid (part of the blend) for my
Hard Seltzer making, but it's
really easy to go overboard, so I can always add more later
to taste. |
|
|
|
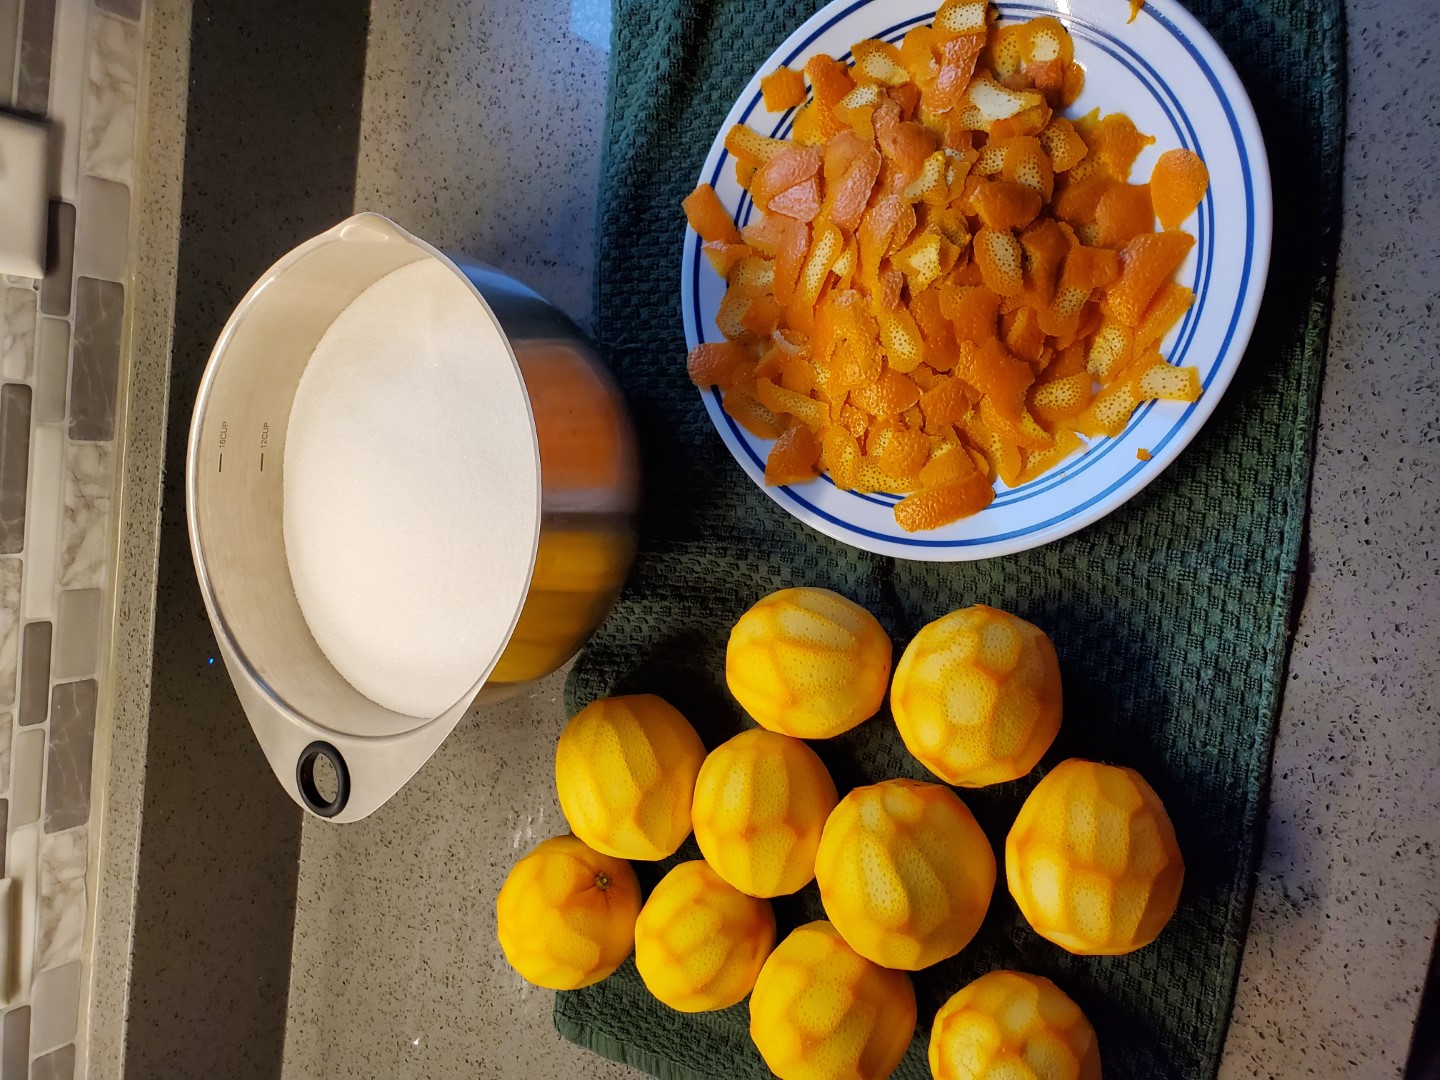
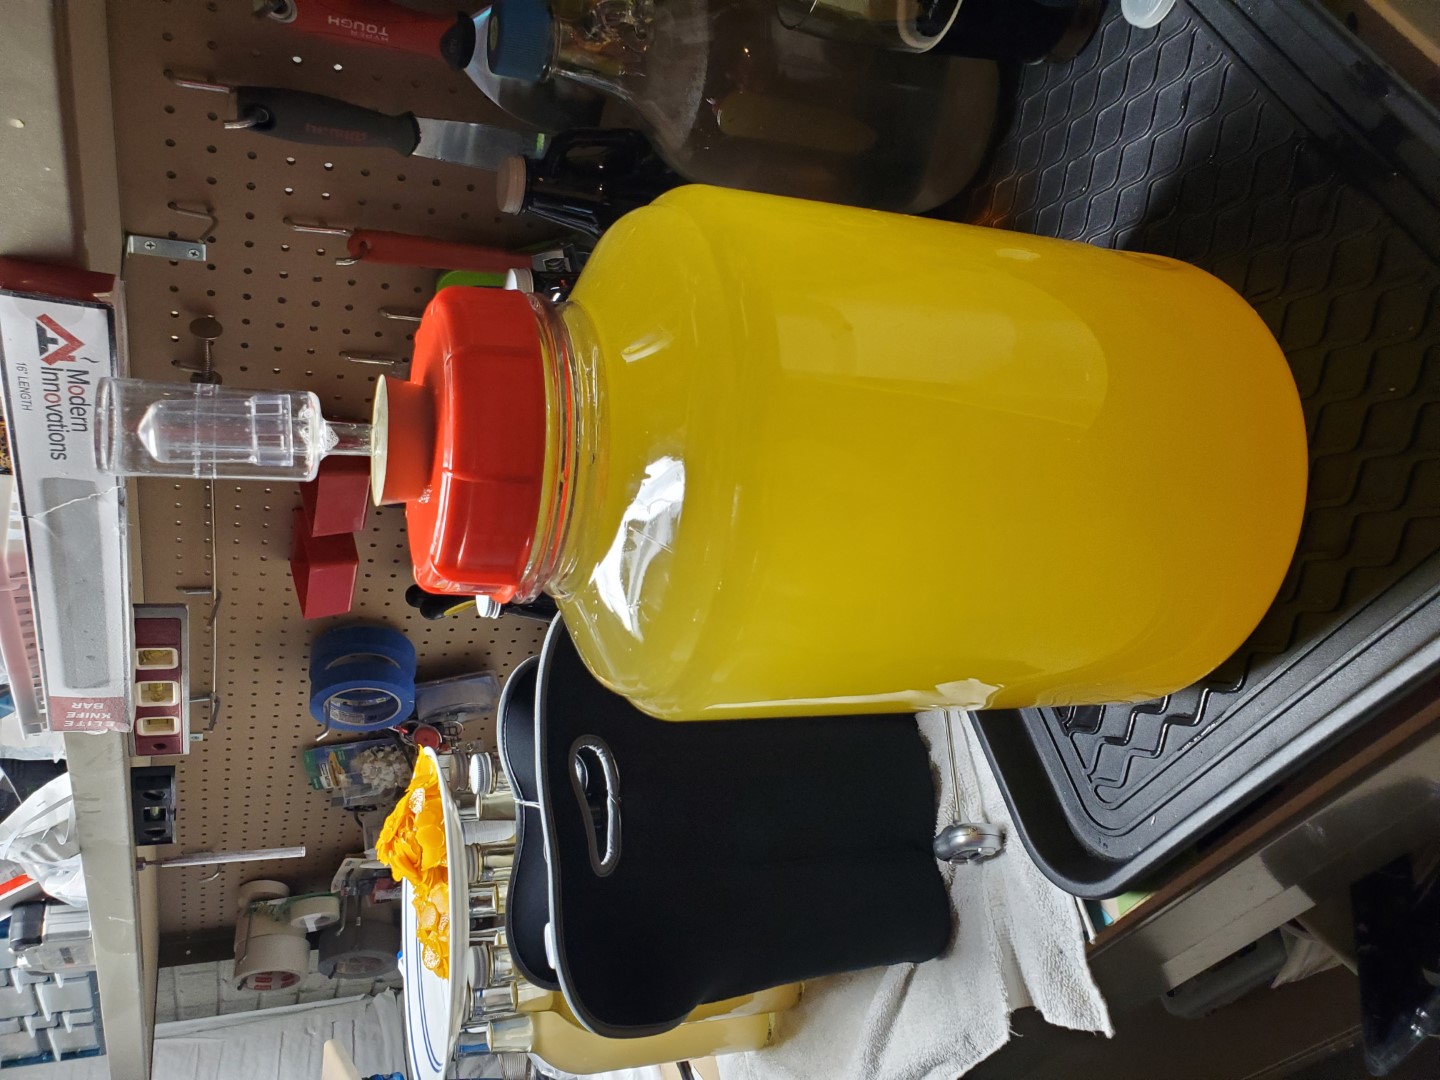
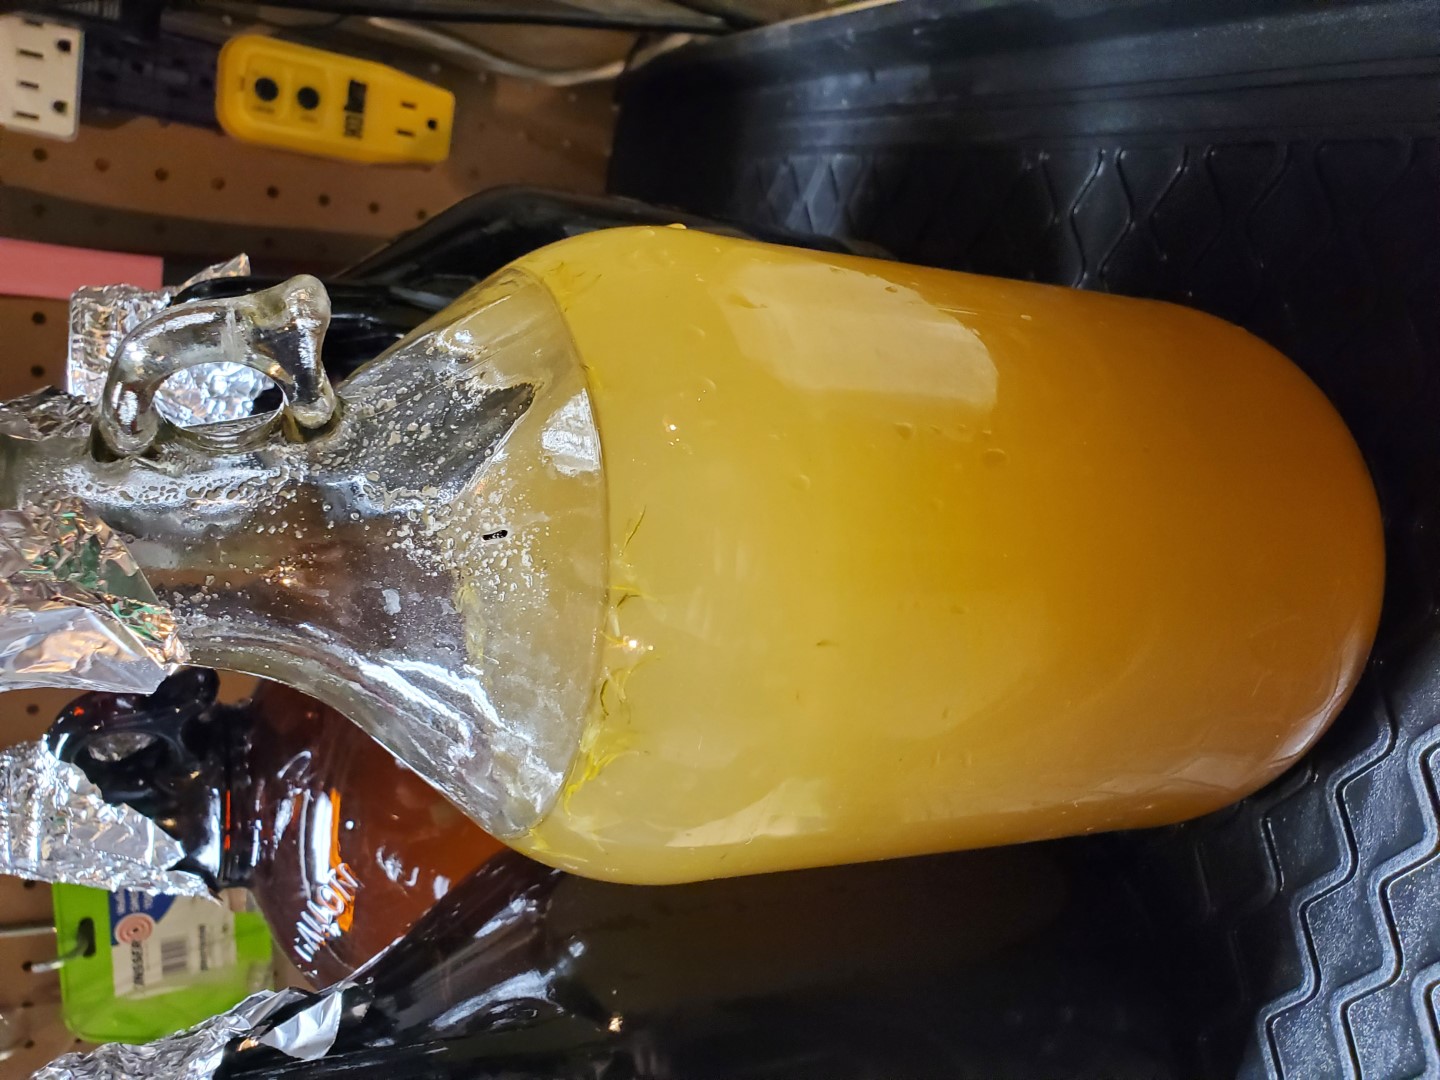
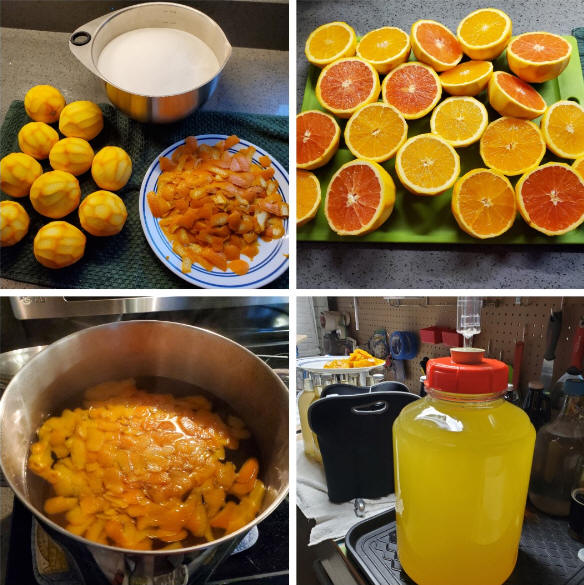
Recipe -
Orange Citrus Wine
After making the dandelion wine and all the effort that was
involved with that whole process, I wanted to try something
a little quicker and easier. I stumbled across a few
recipes for "Citrus Wine," that seemed pretty simple, so I
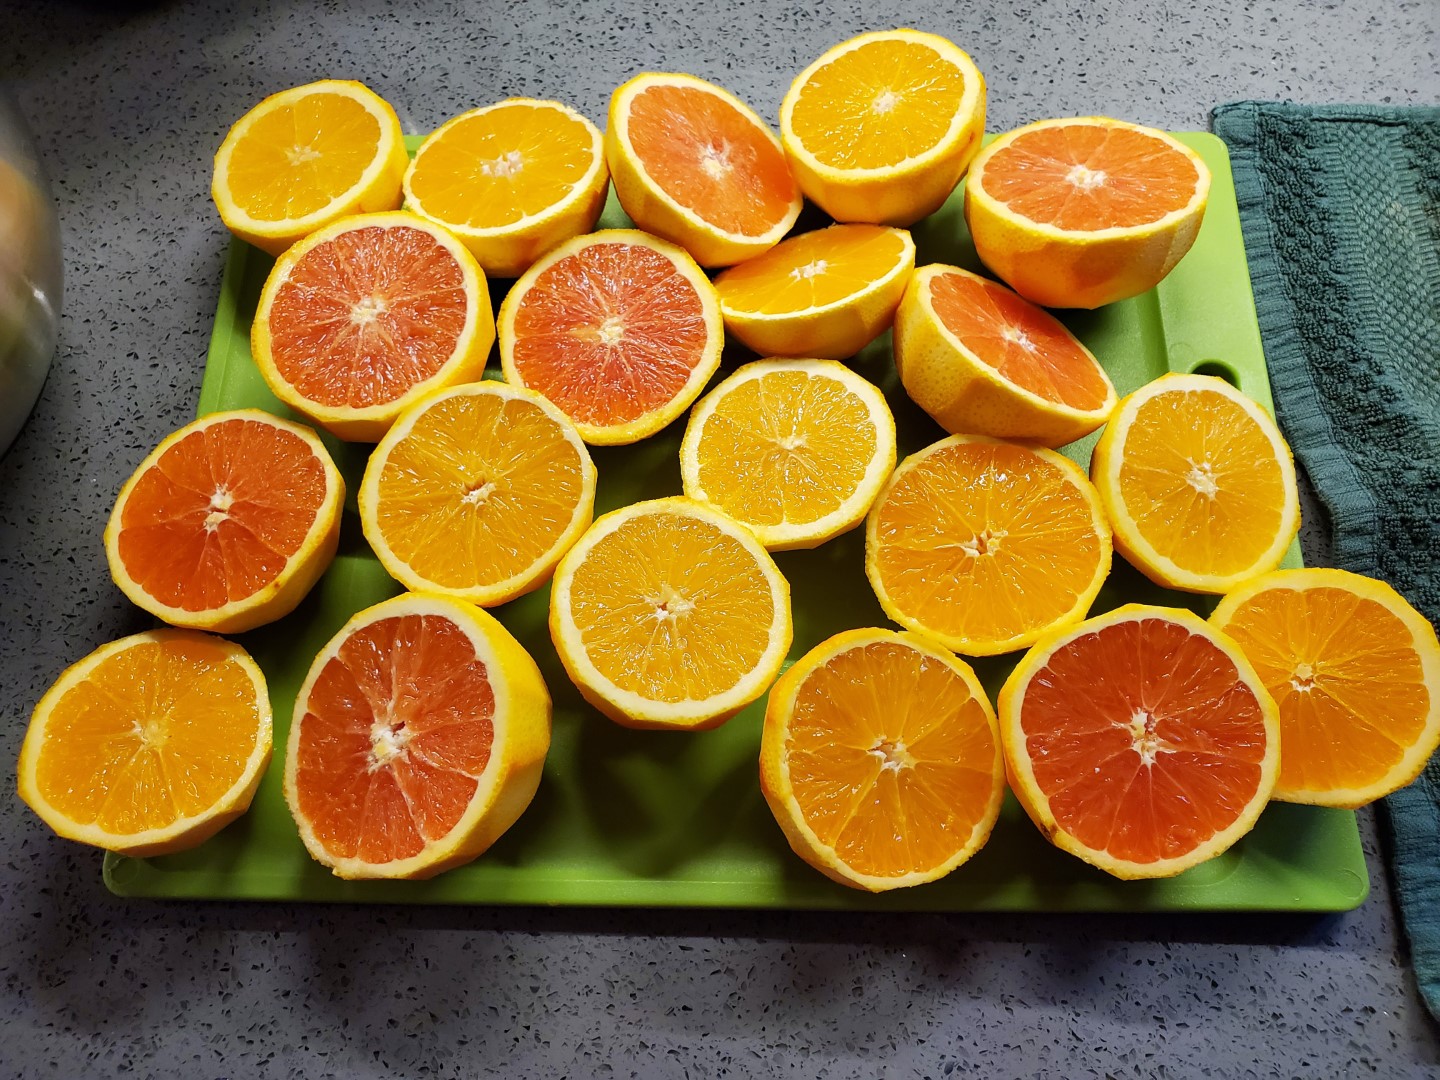
decided to give it a try. Rather than mix a bunch of
different citrus fruits, I decided to go with a straight
Orange Wine for my first attempt. I used a couple
varieties of oranges from the grocery store, but nothing too
crazy. For this recipe, I was mainly interested in
getting the zest off of the fruit and minimize the amount of
the white pith. In the past, I've used a zester when
adding citrus to beers, but several times I think I got too
much pith and my beers ended up being bitter. For this
batch, I found that using a vegetable peeler actually seemed
to work the best if I didn't apply too much pressure.
I was able to get most of the outer orange layer off and it
was much quicker than trying to zest all those oranges.
Here's my process and a few pictures of my "brew" day for
this wine.
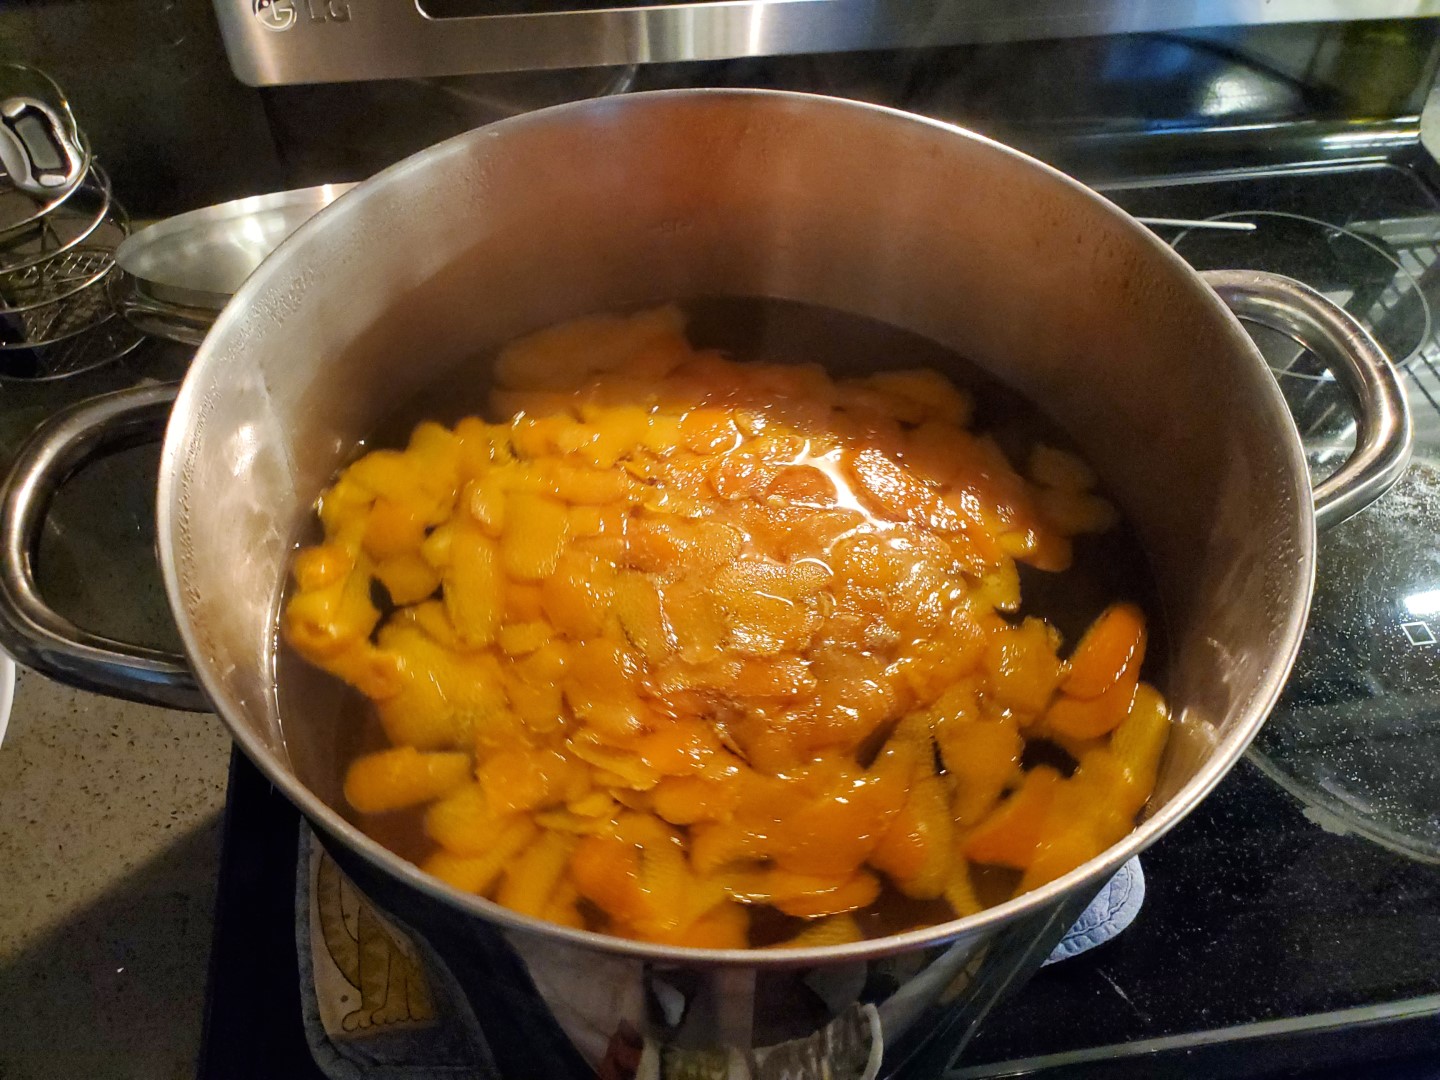
-
Bring 2
gallons of water & 6 lbs of sugar to a boil and boil for
a few minutes
-
Turn off
heat, remove kettle, and add the peels/zest (no white
pith part) to the kettle along with 1 TB of Yeast
Nutrient to the pot
-
Stir to
combine and allow this to steep for 30-60 minutes as it
cools
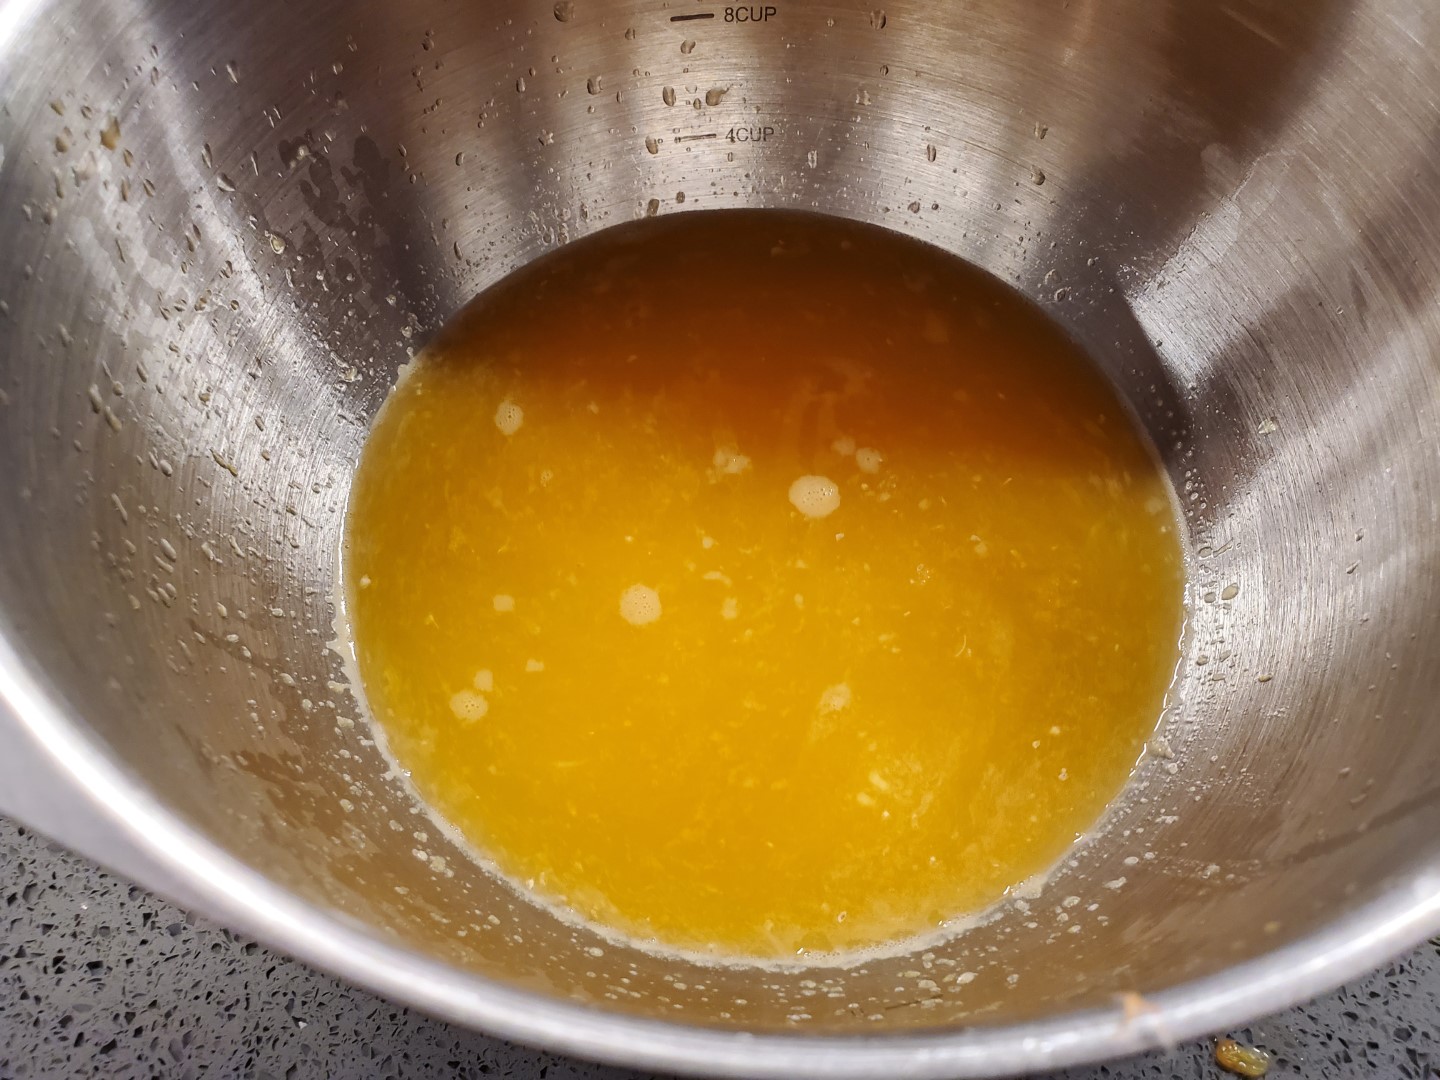
-
After you
have steeping, cool the must (term for unfermented wine)
down to around 80 degrees using a water bath or whatever
method works best for you
-
Use a
sanitized slotted spoon or a strainer to remove the
citrus zest/peels
-
Pour must
into sanitized fermenter & sprinkle dried yeast on top -
no need to rehydrate
-
Put your
fermenter in a cool place where it can ferment in the
mid 60s to mid 70s
-
Once the
fermentation is complete, you can rack into a secondary
fermenter to help clear the wine or bottle straight from
the fermenter and allow it to drop in the bottle
|
|
|
|
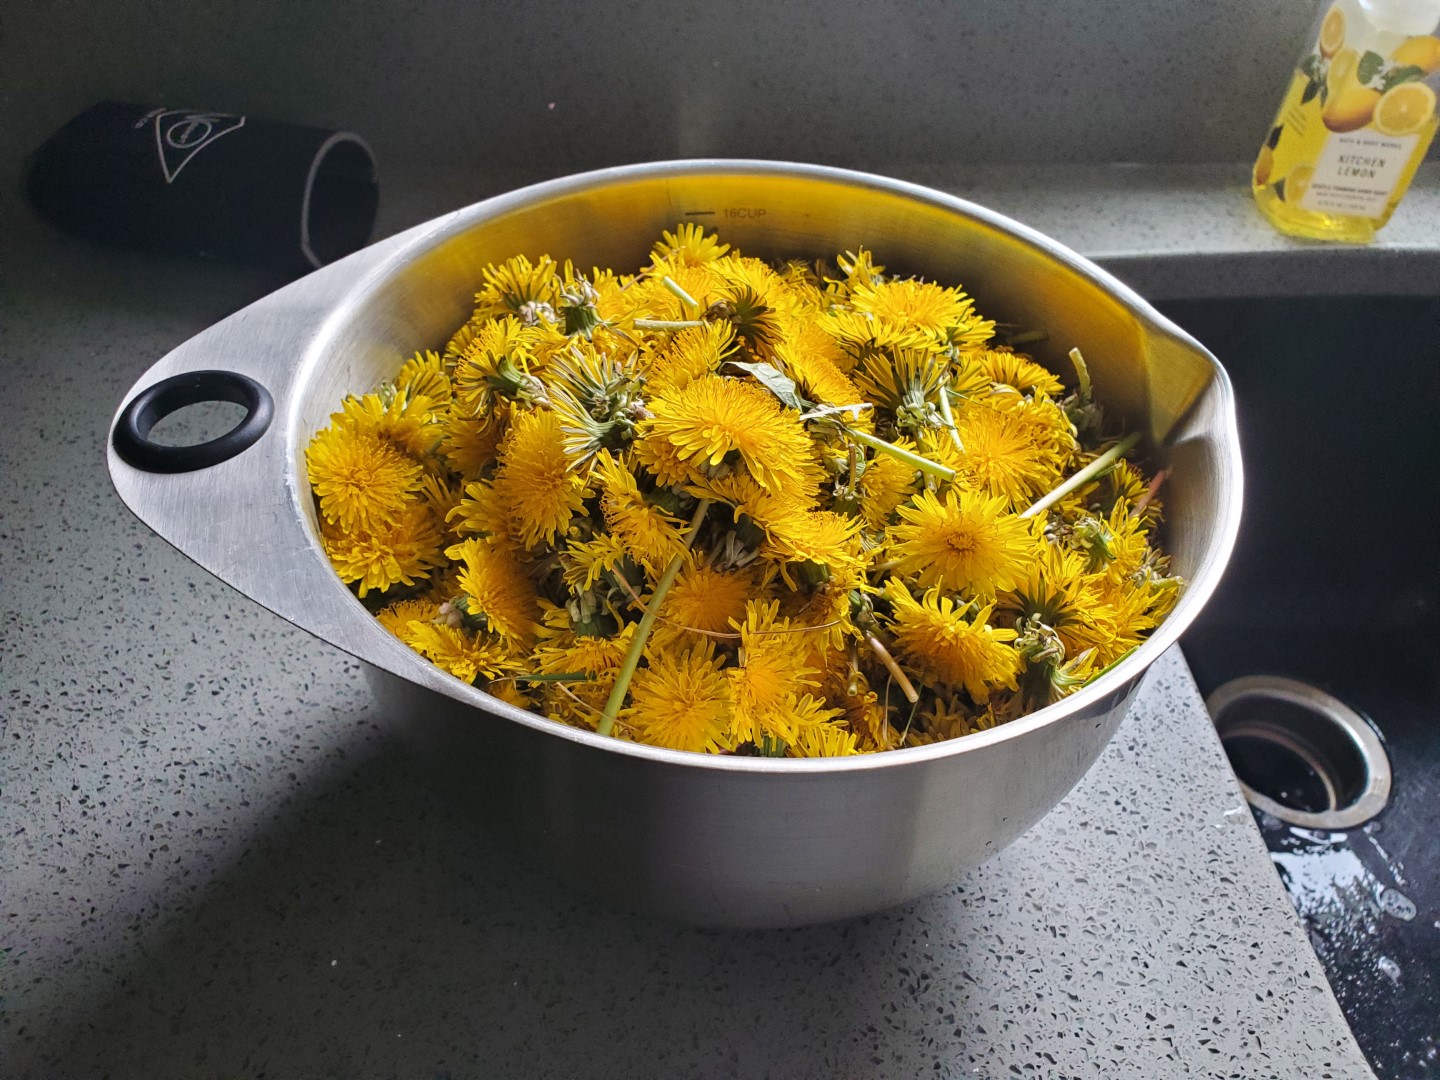
Recipe - Dandelion Wine
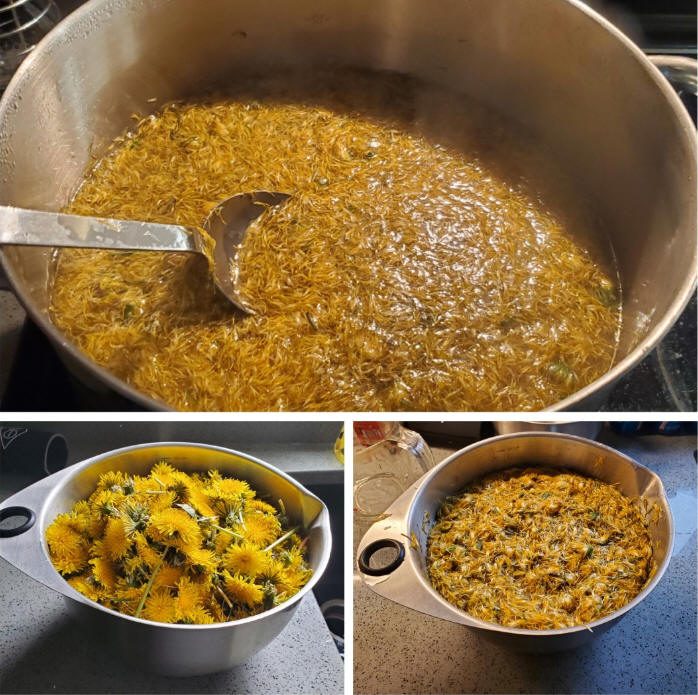
I was about to mow the lawn and happened to notice several
dandelions had popped up around the yard. For some reason
the idea of making dandelion wine popped into my head, and I
just went with it. **Disclaimer - This is where having
children or other people to help you would be very
beneficial. I did all this work myself, and my back &
fingers were sore for a couple days afterward.**
References: -
https://www.thespruceeats.com/how-to-make-dandelion-wine-1327932
-
https://practicalselfreliance.com/dandelion-wine-recipe/
"Brewing" Process
-
Find a
patch of dandelions that you KNOW haven't been sprayed
with chemicals/fertilizer/weed-killer before you get
started. Since these were all from within my yard and I
know my neighbors hadn't sprayed, I felt safe picking
them.
-
Pick the
dandelion heads. This is where having kids or
friends help comes in very handy. I did this on my
own, so it was a lot more work than I was expecting.
I was picking dandelions for probably 1-1.5 hours before
I had enough for a small batch.
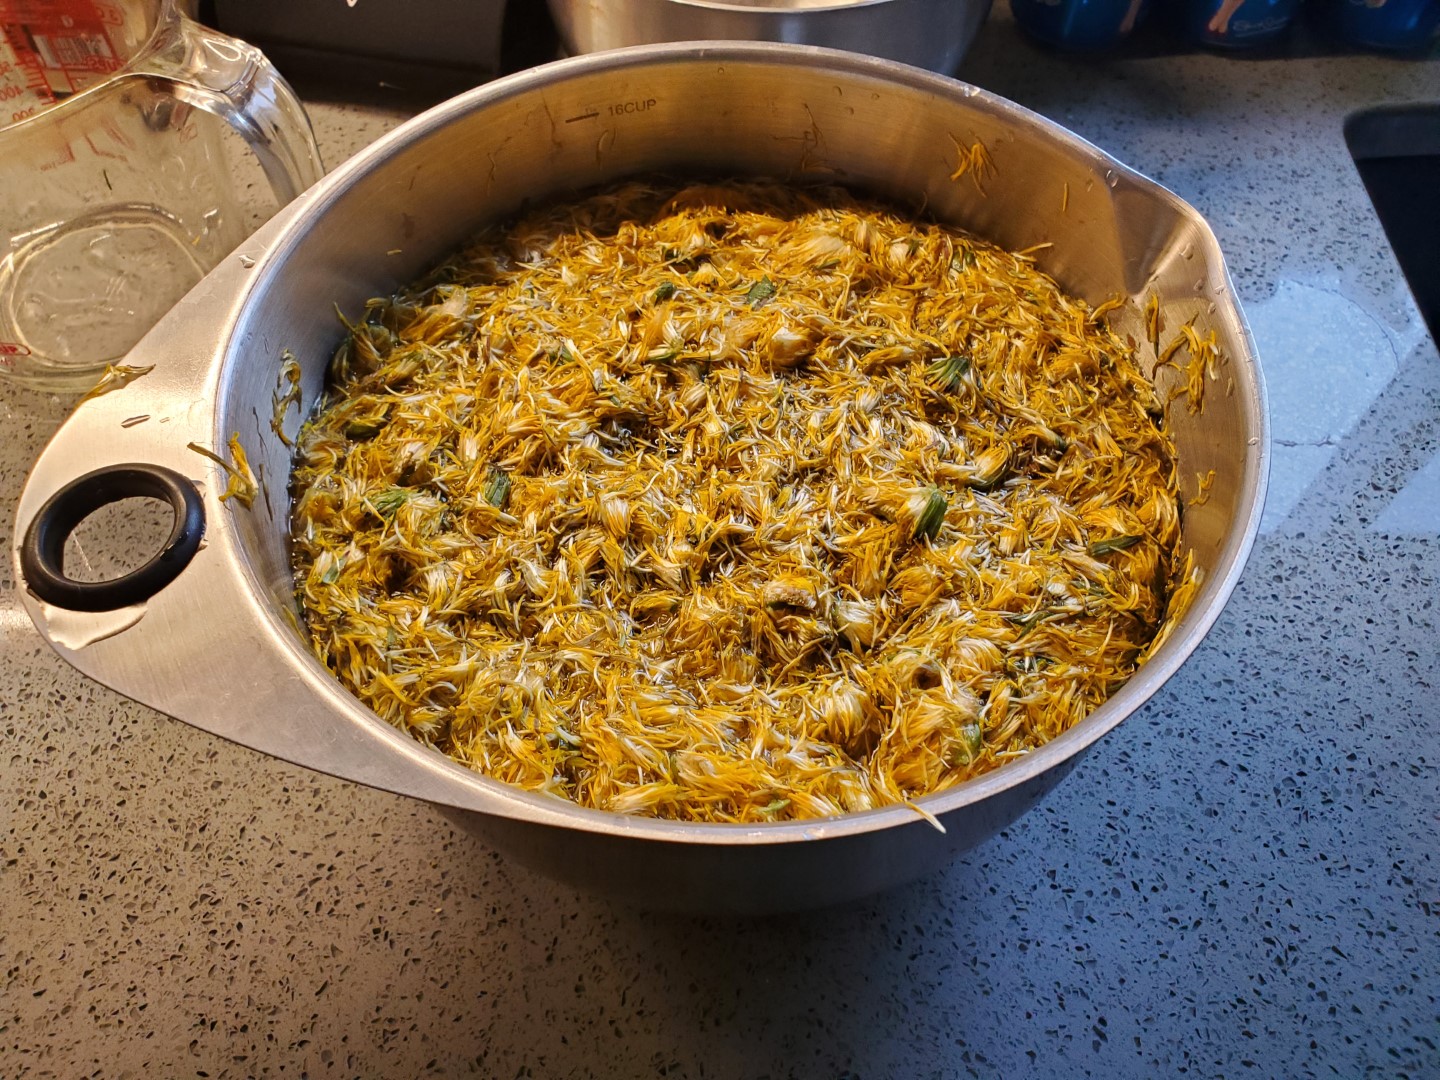
-
Once you
have a bunch of dandelions picked, you will need to
separate the yellow flower portion from the green base.
The best way I found to do this was to gently rub and
squeeze at the base upward, and the petals will come out
relatively easy. Repeat this a bunch of times until your
fingers are sore and blistered. In my case, this
took the longest amount of time at around 2-2.5 hours.
I was just sitting at the table watching TV, so it
wasn't a big deal. TIP - wear gloves while doing
this, unless you don't mind having yellow fingers for a
day.
-
After the
petals were picked, rinse them in cold water once or
twice to remove dirt and other particles.
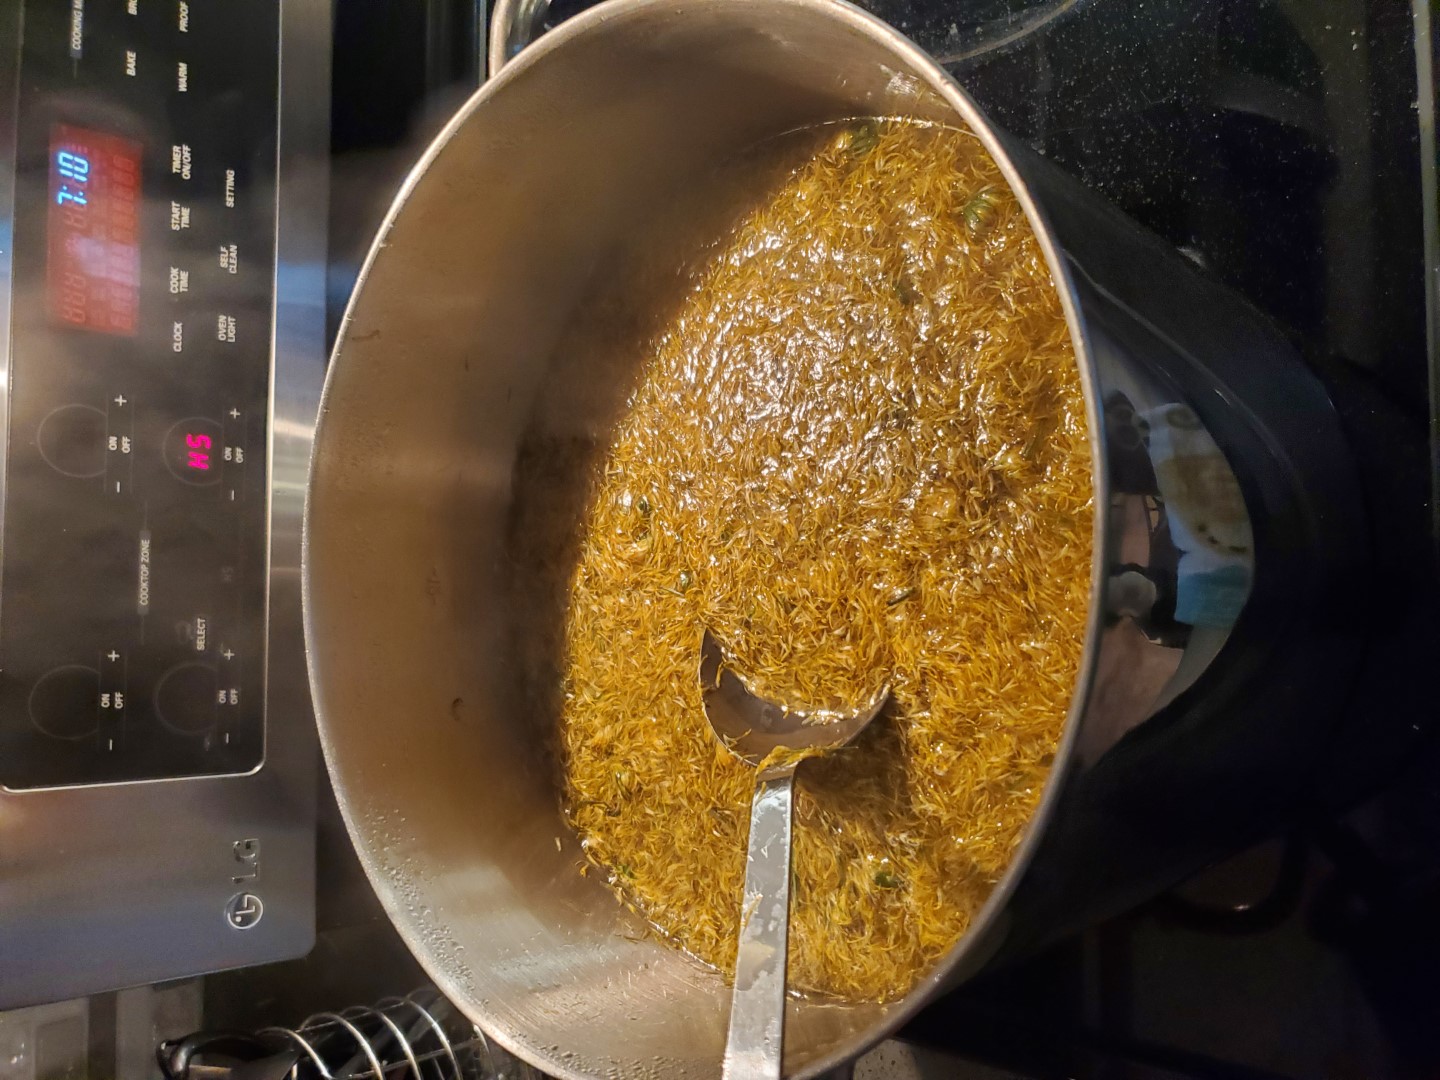
-
Bring 2
gallons of water to a boil along with 5 lbs of sugar and
boil for a few minutes.
-
Turn off
the heat and add rinsed dandelion petals to the kettle
along with some Yeast
Nutrient & stir to combine.
-
Let this
steep for 30 minutes off-heat and strain out the
dandelion petals. I used a slotted spoon & made several
passes along with using a strainer in a separate pot so
I could add any liquid that drained off back to the
kettle.
-
Cool the
must using a water bath and stir to chill down to around
80 degrees.
-
Pour must
into a sanitized fermenter (or various bottles in my
case since I didn't have anything smaller than 5 gallons
at the time - I have since purchased a 3-gallon
fermenter that has worked well for these smaller batches), and top up with 1 gallon of distilled or
cold tap water. NOTE: You can add more or
less water depending on how strong you want the wine to
be. Remember that the final gravity will be very
low compared to beer, so be sure to factor that in when
deciding what the SG will be.
-
Sprinkle
dried wine yeast over the top, attach the lid & airlock,
and put in a cool place to ferment. NOTE:
The fermentation process for wine seems to be much
slower and less aggressive when compared to beer, so
just give it time (a month or two) and take a gravity
reading after several weeks to check progress.
|
|
|
|
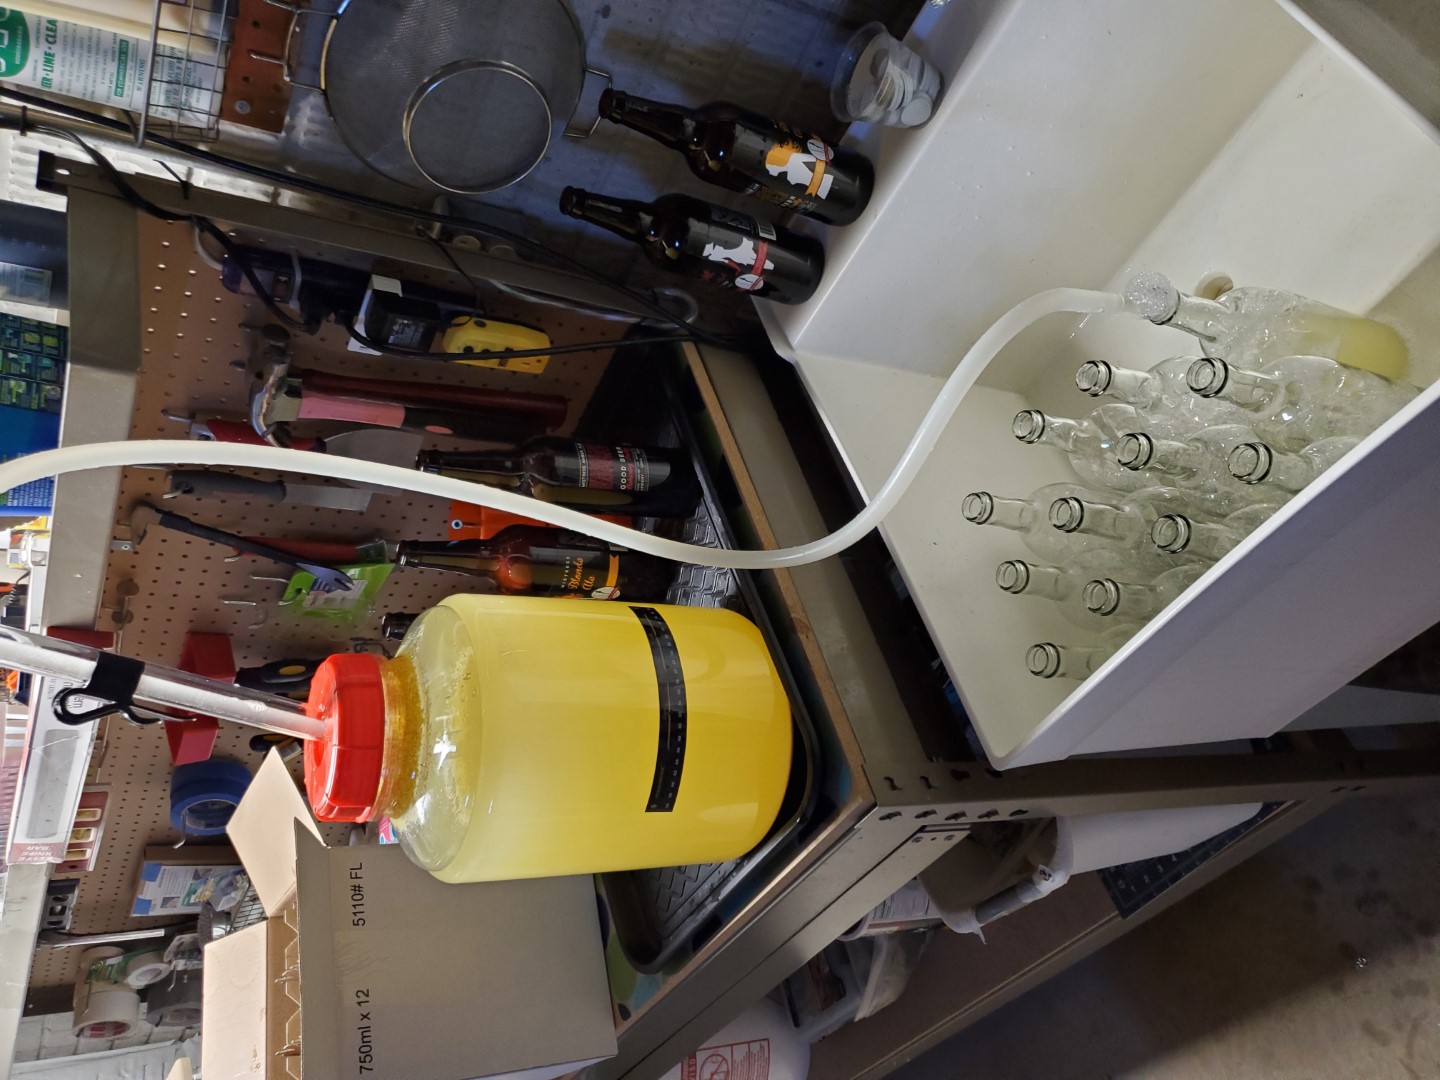
|
I have plenty of brown beer bottles, but for these wines,
I really wanted clear bottles to show off the color and
clarity of the different types. That being said, I
also didn't want to buy a bunch of additional wine bottling
equipment like a corker, corks, etc. After looking
online, I found that clear screw-top bottles were exactly
what I wanted and didn't require any extra equipment, so I
picked up a couple cases and some extra caps to have as
spares. I already had a racking cane, tubing, and
bottling wand, so the process really wasn't that much
different than when I bottled beers when I first started
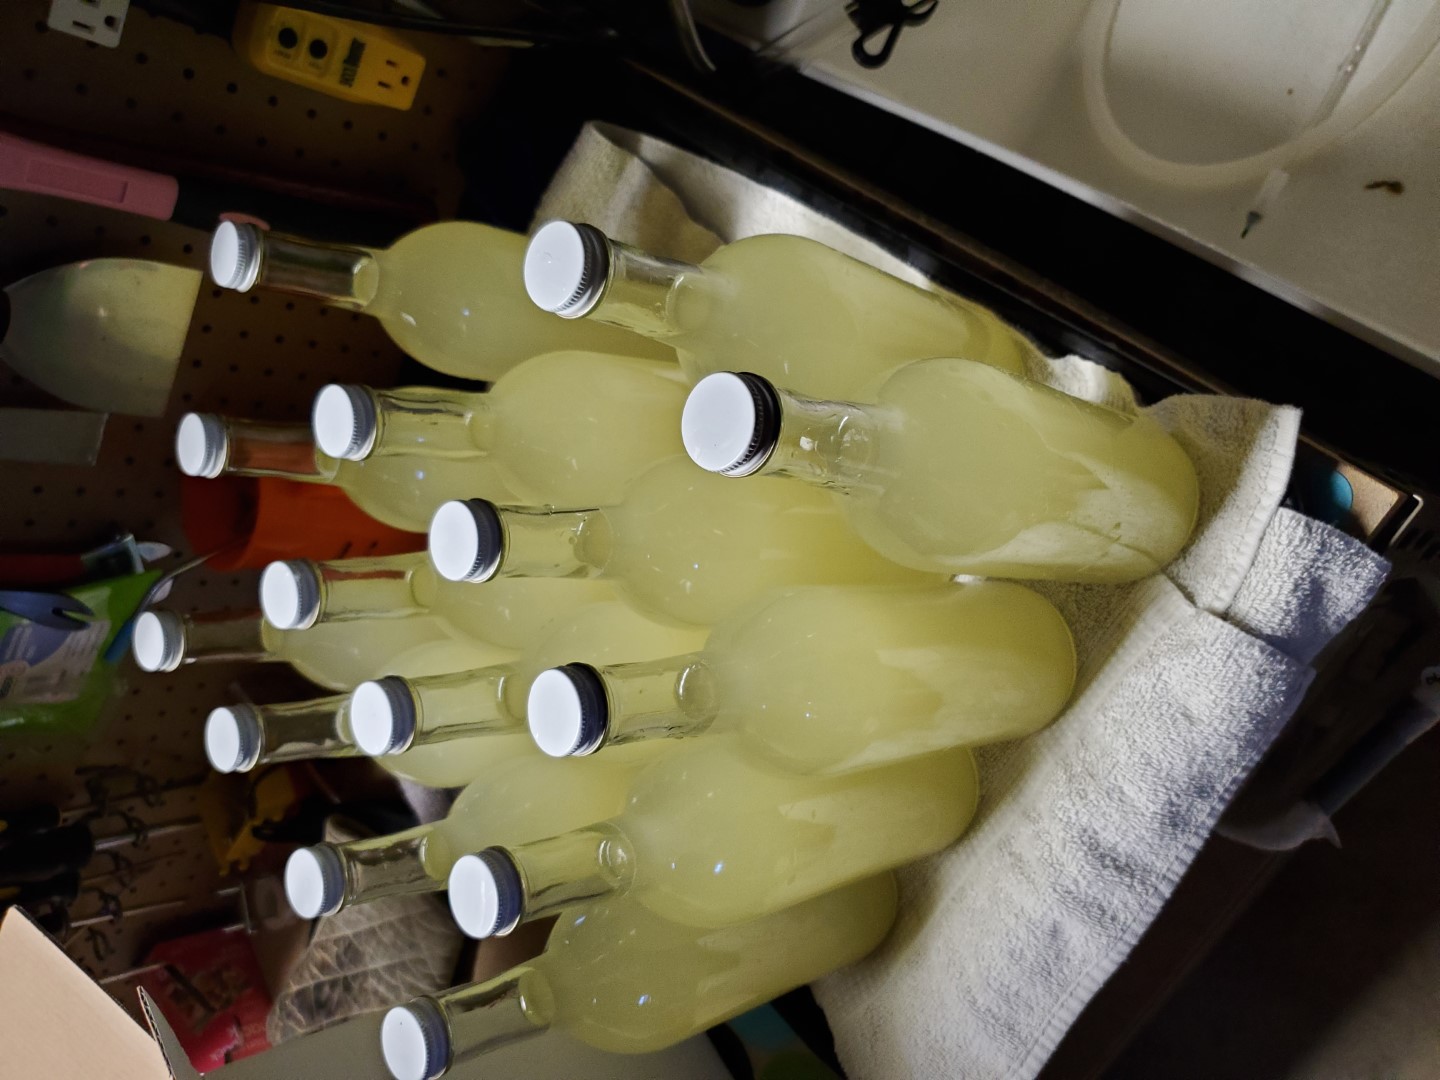
homebrewing. I wasn't really sure about adding
carbonation to these bottles, so I didn't add any additional
sugar before bottling. I may do some experiments with
that in the future, but I'm not 100% sure that the screw-top
bottles are meant for bottle conditioning wine or not.
|
Contact Information:
MikeYoungHB
at gmail.com
*As an Amazon Associate I earn from qualified purchases*
|
|