|
*Update 8/10/2010: RIP Sanyo Kegerator*
With all the rain we've been getting lately, my
floor drain in the basement ended up backing up and leaving about
6-8" of standing water. I totally forgot to go downstairs and
unplug my appliances, so the Sanyo kegerator as well as my
temperature controlled fermentation fridge were both ruined.
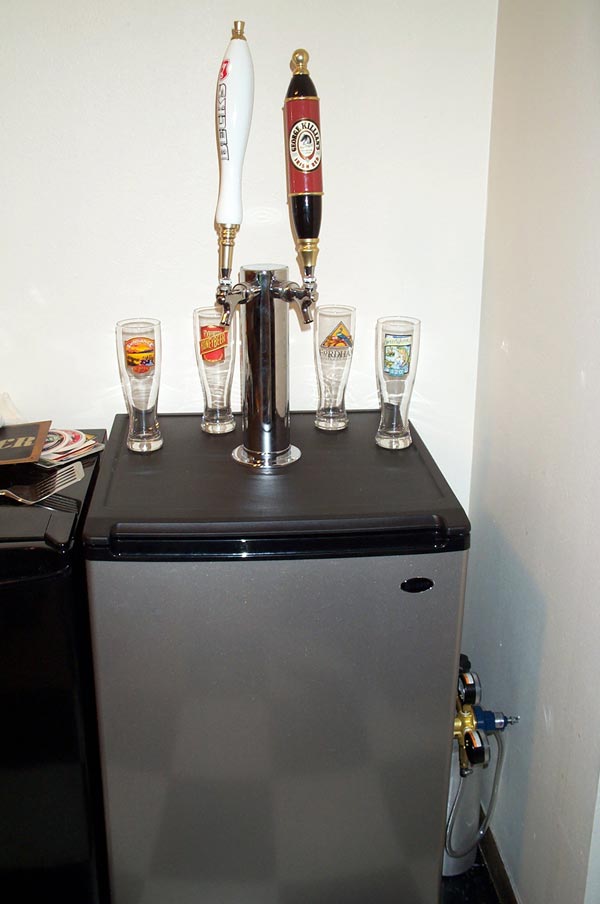
My 4 tap chest freezer kegerator is still going strong, but I'm not
sure how much damage being under water has done to the compressor.
The Sanyo kegerator provided me years of homebrew drinking pleasure,
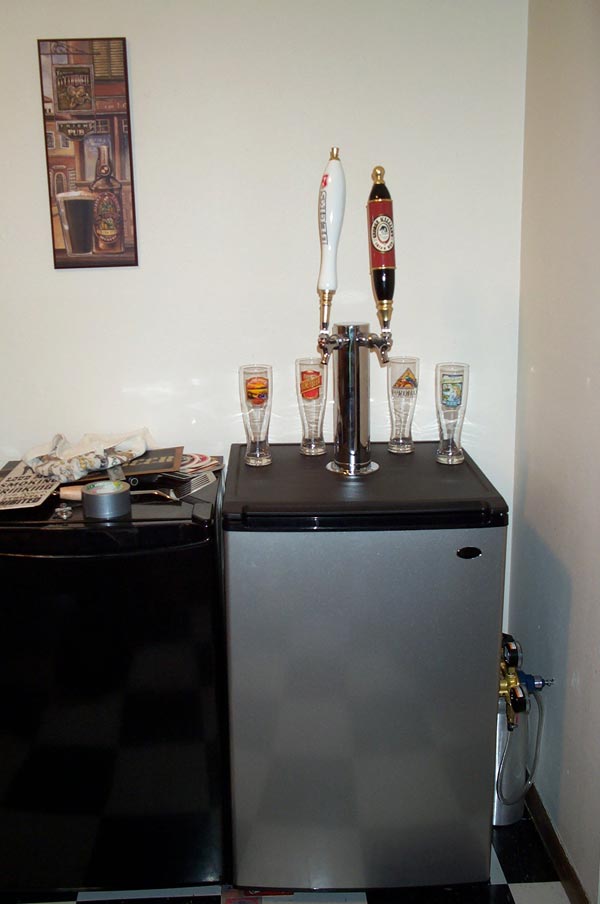
and it will be sorely missed. It has been replaced with an
upright fridge with 5 taps through the door, bringing the number of
beers I have on tap up to 9!
Information
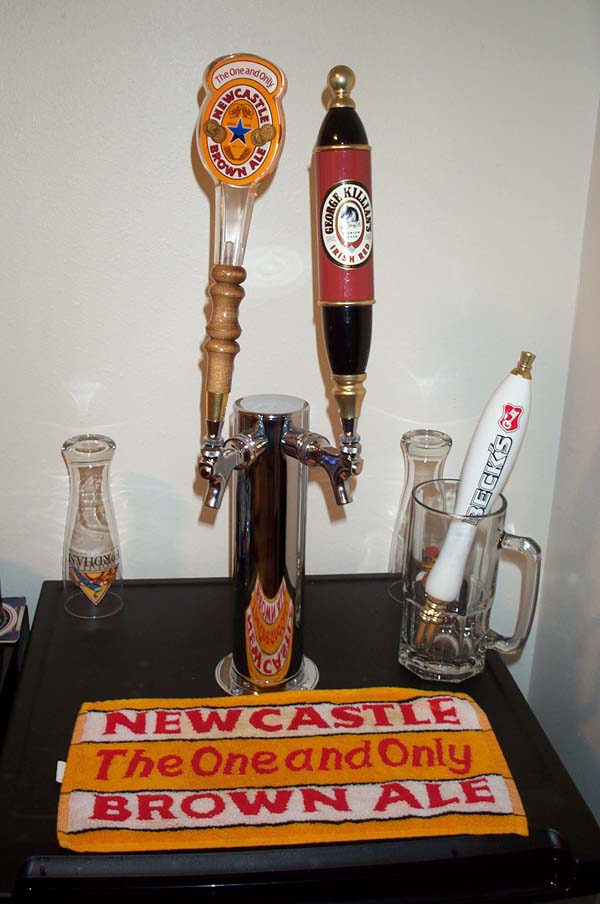
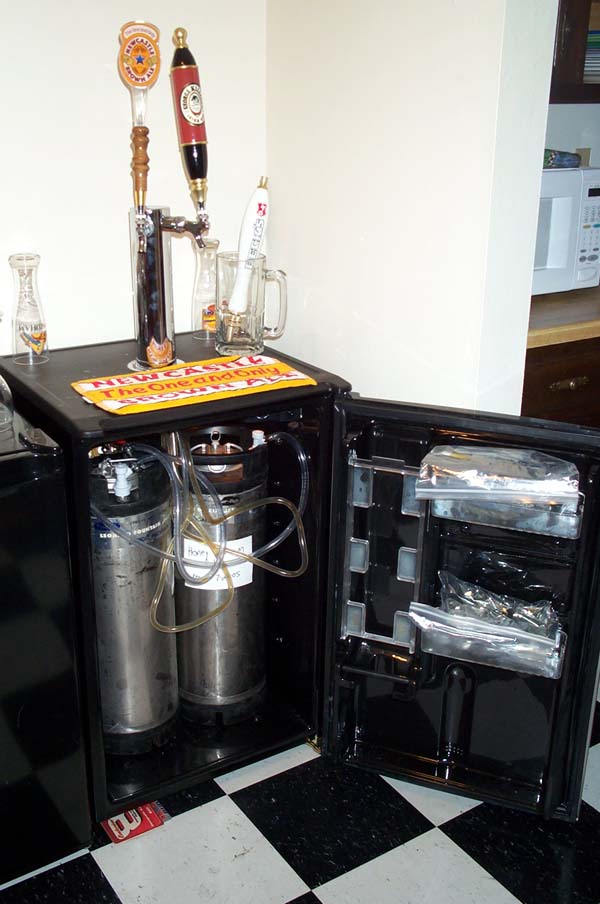
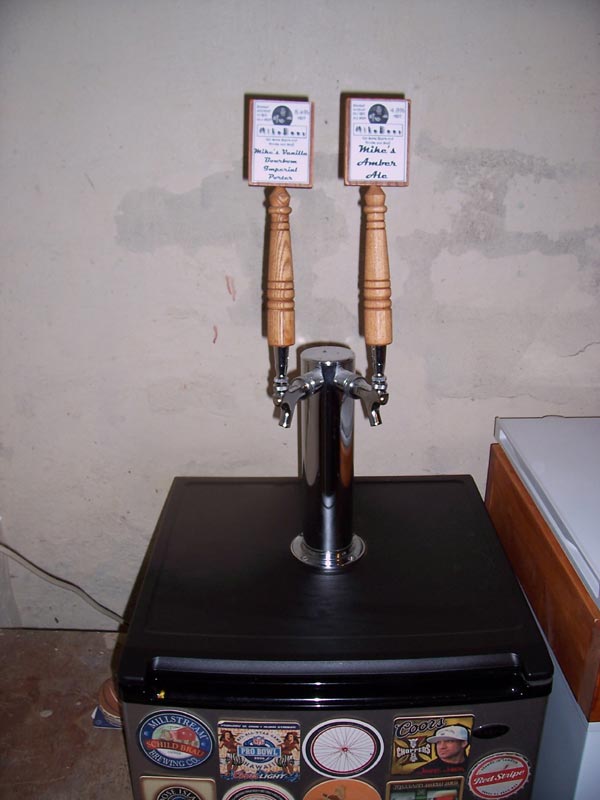
This is the first kegerator that I built while I
was living in an apartment. I used a Sanyo 4912 that I bought
from Best Buy as the base. In order to reinforce the tower, I
cut out a portion of the plastic ribs on the top plastic piece and
added a piece of wood so the taps would be more stable. I then
drilled a hole in the top center of the fridge.
From what I read online, the coolant lines take
up the back 1/3 of the top of the fridge. Looking back, I
should have used a corn starch and water mix to show where the lines
were through evaporation. Other websites mention this as a way
to detect where cooling lines run. I've read some posts online
where people have hit the cooling lines in this fridge and turned it
into a big doorstop. It's always better to be on the safe side
and be as careful as possible.
Parts
|